Shading
The Shading tab sets the shape of the shadow border and the strength and colour of each light. Moving a slider recalculates the palette on the Colour tab.
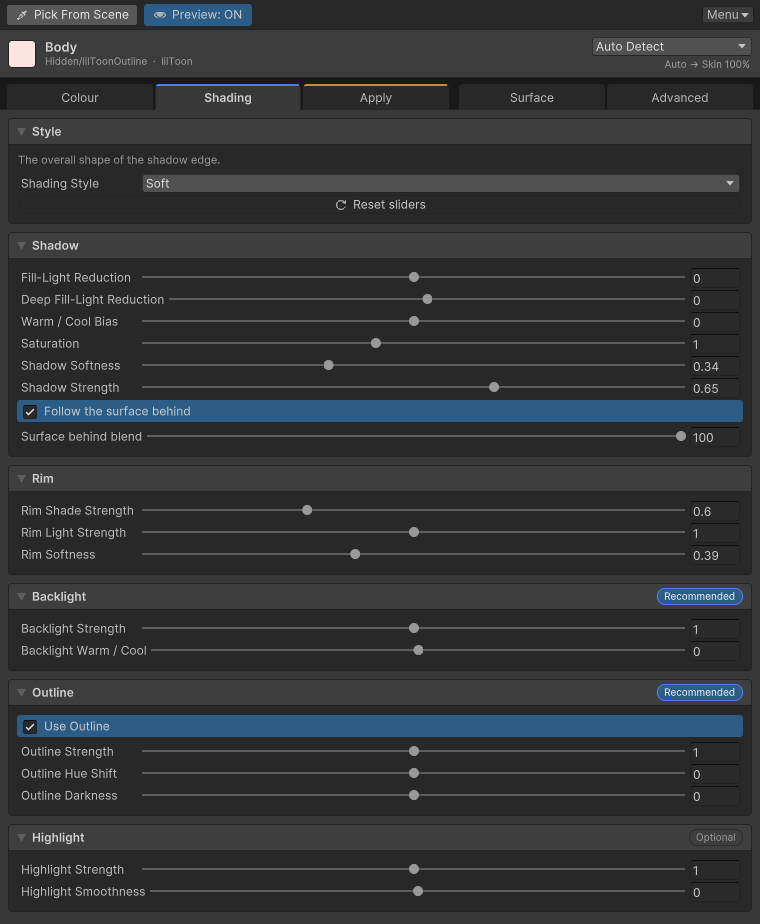
Style and softness
Shading Style sets the basic shape of the shadow border.
- Soft makes a wide border that fades slowly.
- Cel makes a narrow, hard border.
- Custom uses the border and blur numbers on the Advanced tab as they are.
Shadow Softness moves where the shadow starts and how much that border blurs, together. Lower tightens the border. Higher spreads it. Skin and rounded surfaces often want the higher side.
Rim Softness changes only the blur of the rim shade and rim light bands.
To type the numbers yourself, set Shading Style to Custom and turn on Use Advanced Shading on the Advanced tab. The fields under Custom Terminator Shape are:
| Number | What it changes |
|---|---|
| Shadow Border | Where the primary shadow starts |
| Shadow Blur | How much that border blurs |
| Deep Shadow Border | Where the deep shadow starts |
| Deep Shadow Blur | How much that border blurs |
| Border Colour Range | How far the border colour spreads around the shadow border |
Channels
| Channel | Controls | When to touch it |
|---|---|---|
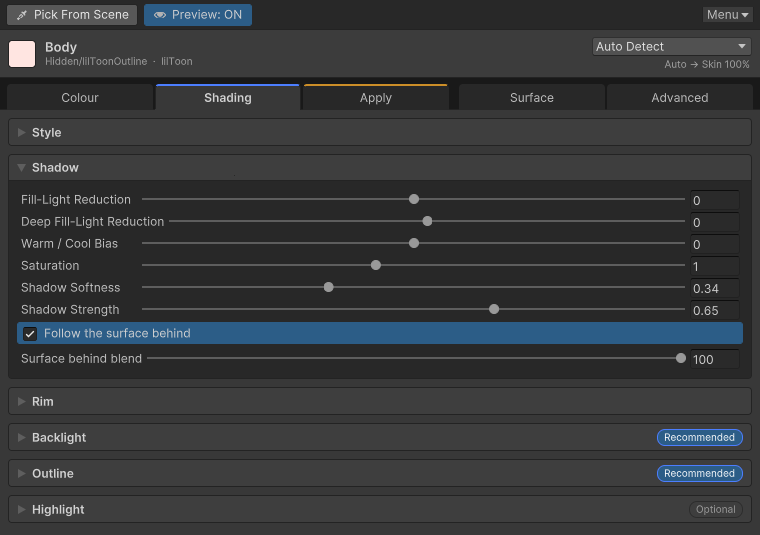
| Shadow | Shadow Strength is opacity. Fill-Light Reduction and Deep Fill-Light Reduction are brightness. Warm / Cool Bias changes hue direction only, and Saturation changes saturation only. Follow the surface behind shades a see-through material such as stockings over the surface behind it, and Surface behind blend sets how much of that result is used, 0–100%. At 0% the shadow is chosen from this material alone. | When the primary shadow and the creases need different depth, or when you tune the shadow of a see-through material |
| Rim shade | Rim Shade Strength and Rim Softness | When the silhouette edge should read darker |
| Rim light | Rim Light Strength and Rim Softness | When the edge needs a bright contour |
| Backlight | Backlight Strength, Backlight Warm / Cool | When you want light behind the silhouette |
| Outline | Use Outline, Outline Strength, Outline Hue Shift, Outline Darkness | When you want the outline on or off, or the line should be heavier or closer to the surface colour |
| Highlight | Highlight Strength, Highlight Smoothness | When the reflection or gloss is too strong or too wide. Highlight Strength controls strength and Highlight Smoothness controls width. Move the slider right to narrow the reflection, left to spread it. 0 keeps the material type's value. |
When Use Outline is on, Apply turns the outline on for every material. When it is off, Apply turns them all off. It is on by default. On lilToon, the outline is turned on by switching to a shader that has one. Details are on Shaders.
Outline Strength is not the line's opacity. The outline is always written opaque. At 0 the line matches the base colour, and at 1 it is the suggested outline colour. Values in between mix the two, and values above 1 count as 1.
A type marked Not Recommended for a highlight no longer gets a hard toon reflection. On White / Light Fabric, Coloured Fabric and Dark Fabric, that reflection used to appear as a wide blob, and on semi-transparent clothes it read as a glow. Skin and hair still use the toon step. Highlight Smoothness does not change that choice; it only moves the material type's smoothness toward 1 on the right and toward 0 on the left.
Backlight, outline, and highlight carry a chip for the material type. Recommended means that type wants the feature on. Not Recommended means it wants the feature off. Optional means either is fine. The chip is separate from whether the shader has the feature.
For backlight and highlight, Apply acts on the chip. Recommended is turned on and Not Recommended is turned off. Optional stays as the material already has it. To turn optional features off as well, enable Also turn off optional features on the Apply tab. To keep a not recommended feature on, disable Turn off not recommended features. The outline follows Use Outline, not the chip. Treat the outline chip as a reference only. Shadow and rim are turned on when you apply.
Gloss
While Set all colours and numeric values automatically is on, Apply adds gloss too. There is no separate option to turn on. It builds a matcap from the chosen colours, saves it next to the material, assigns it to the material's matcap slot, and writes the matcap values. Applying again reuses that texture.
- Gloss does not replace the reflection. It is added on top. Types that recommend a highlight keep the reflection on as well.
- Fur, Suede, Velvet, Emissive, Eye and Teeth get no gloss. While Turn off not recommended features is on, a matcap the tool made, or one with no texture, is turned off. A matcap that uses your own texture stays on.
- Skin gets a soft oval sheen. A fine normal just for the matcap is written with it, so the gloss breaks up into small grains. Hair uses a wide sheen tinted with the hair colour, plus the reflection.
- Set the strength with Highlight Strength.
- Revert restores the original matcap texture, switches, and values, even after several applies.
Preview does not turn a switched-off feature on for you. If you want to see it before applying, turn the feature on in the shader first.
Do not mix up brightness and hue
Only Fill-Light Reduction and Deep Fill-Light Reduction change how bright a shadow is. Higher leaves less light, so the shadow is darker.
Warm / Cool Bias and Backlight Warm / Cool do not change brightness. If a shadow is too dark or too bright, move fill-light reduction, not the temperature.
Whether numbers are written
Strength, border, and blur are written to the material only while Set all colours and numeric values automatically is on. The colour and that channel's numbers are written together.
Off means colour only. The suggested numbers stay on screen as a reference until the next apply.
Put the sliders back
Reset sliders returns only this tab's sliders to their defaults. The chosen style, and any values overridden on the Advanced tab, stay.